How to enhance Angular text input fields with CKEditor 5
In the ever-evolving landscape of web development, there are a few names that consistently stand out: Angular, React, and Vue. While these three are often pitted against each other in comparisons, it’s important to say that React is technically a library, unlike Angular and Vue, which are full-fledged frameworks. This article focuses on Angular, the hardest to master of the three, and how you can use CKEditor 5 to enrich its text input fields.
Since its introduction in 2009, Angular has revolutionized the scene of web development with its feature-rich and advanced front-end framework – facilitating the creation of complex applications. In contrast to its peer frameworks, Angular’s mature and comprehensive nature makes it a clear choice for more advanced applications.
# Angular textarea
When it comes to text input fields, unlike standard HTML textarea, Angular textarea offers enhanced capabilities, such as handling larger amounts of text, two-way data binding, listening to Angular events, reusability, and testability through unit tests. However, the potential of Angular text input fields can be further enhanced by integrating a text editor like CKEditor 5. Keep reading to find out how this integration can significantly improve your Angular applications.
# Benefits of having Angular text input fields enhanced with CKEditor 5
Integrating a feature-rich Angular text editor like CKEditor 5 into your Angular application offers a multitude of advantages. It goes beyond boosting productivity and enhancing the user experience – it adds significant value to your application without the painstaking task of building a text editor from scratch.
# 1. Enhancing the user experience
Incorporating a robust and well-designed rich text editor, such as CKEditor 5, into your application – whether it’s a CMS, CRM, or LMS – can greatly elevate your app’s UX. By equipping users with intuitive text editing features, you empower them to efficiently create well-structured content that effectively communicates their ideas. This kind of functionality can turn a good app into a great one.
# 2. Customizing text editing features to match your app’s needs
With CKEditor’s user-friendly interface and extensive customization capabilities, you can tailor the text editor to suit the unique needs and objectives of your application while meeting your users’ expectations. The CKEditor 5 Angular component’s customizable nature ensures seamless integration with your app.
# 3. Leveraging Angular’s two-way data binding
Harnessing the power of Angular’s data binding, you can use CKEditor 5 even more effectively. By binding the content in CKEditor with a model in your Angular application, changes made in the editor and the Angular model are always in sync. Any modifications to the model are instantly reflected in the editor within your app – and vice versa.
# 4. Streamlining integration
The standout feature of CKEditor components, including the Angular rich text editor, is their robustness and reliability. These ready-to-use components can significantly improve your app, relieving you from the complexities typically associated with building your own editor. With just a few clicks and some simple code, you can effortlessly integrate a fully-fledged rich text editor into your app.
# How to enhance Angular text input field with CKEditor 5
# 1. Begin with an Angular project
Starting with an existing Angular project, or creating a new one, is the first step in this process. If you don’t have an existing Angular project, you can quickly create a new one using the Angular CLI (Command Line Interface). To do this, type the following command in the terminal:
ng new my-richtexteditor-app
cd my-richtexteditor-app
Note that ‘my-richtexteditor-app’ is just a placeholder name for your Angular app – feel free to use your own.
# 2. CKEditor 5 Angular component
Next, install the CKEditor 5 component for Angular, which can be found on npm. Make sure you’re installing a version that is compatible with Angular 13 or later.
npm install --save @ckeditor/ckeditor5-angular# 3. Choosing and installing a CKEditor 5 build
You then need to choose a CKEditor 5 build for your app. There are several options available, with varying features like a floating toolbar or a UI similar to traditional word processors. Here, we’re going to use the popular Classic build. Use the following command to install it:
npm install --save @ckeditor/ckeditor5-build-classic# 4. Installing required peer dependencies
You need to install the following peer dependencies:
-
The CKEditor 5 core architecture: @ckeditor/ckeditor5-core
-
The CKEditor 5 editing engine: @ckeditor/ckeditor5-engine
-
Utilities for CKEditor 5: @ckeditor/ckeditor5-utils
-
Watchdog for CKEditor 5: @ckeditor/ckeditor5-watchdog
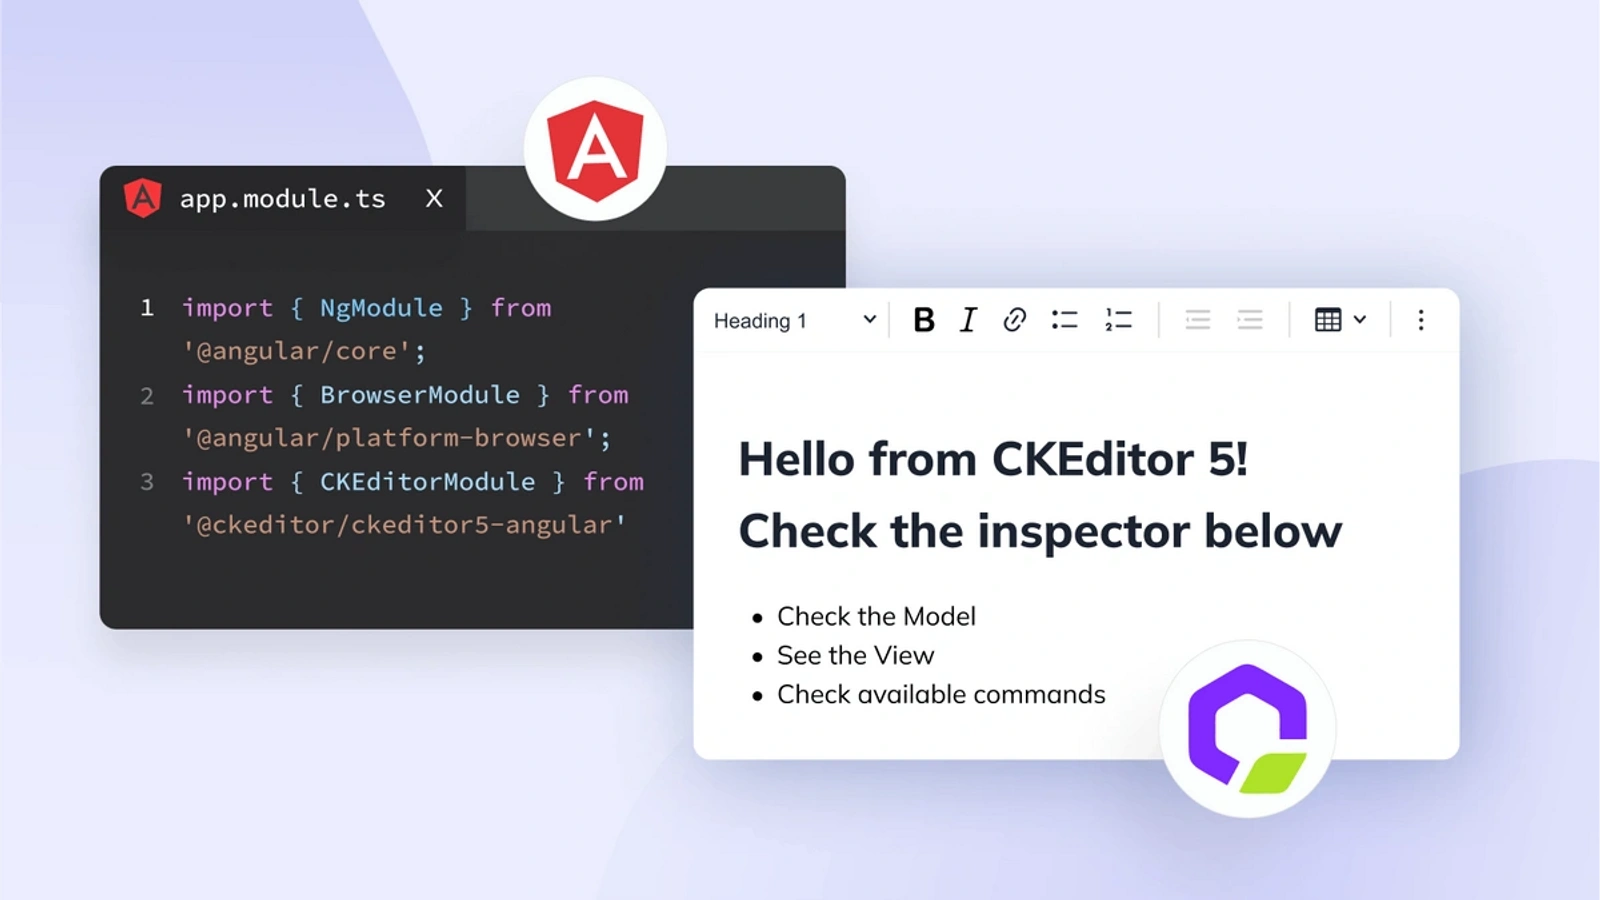
# 5. Adding the CKEditor module
The modules with components that use the
// app.module.ts
import { NgModule } from '@angular/core';
import { BrowserModule } from '@angular/platform-browser';
import { CKEditorModule } from '@ckeditor/ckeditor5-angular';
import { AppComponent } from './app.component';

@NgModule( {
    declarations: [
        AppComponent
    ],
    imports: [
        BrowserModule,
      CKEditorModule
    ],
    providers: [],
    bootstrap: [ AppComponent ]
})

export class AppModule { }
# 6. Importing the CKEditor 5 build
You can now incorporate the editor build into your Angular component and make sure it’s assigned to a public property. This way you’ll make it accessible from the template:
// app.component.ts
import { Component } from '@angular/core';
import ClassicEditor from '@ckeditor/ckeditor5-build-classic';

@Component( {
    selector: 'app-root',
    templateUrl: './app.component.html',
    styleUrls: [ './app.component.css' ]
} )

export class AppComponent {
    title = 'angular';
    public Editor = ClassicEditor;
}
# 7. Running CKEditor 5
Now, you’re ready to start CKEditor in your app. After performing the above steps, add the following to your code:
<!-- app.component.html -->
<ckeditor [editor]="Editor"></ckeditor>
After you rebuild your Angular app, you can see CKEditor 5 embedded in it. That way, you’ve enriched the standard Angular text input field, making it much more powerful for your users.
# Two-way data binding in Angular and CKEditor 5
In Angular, one of the most useful mechanisms is two-way data binding. Two-way data binding acts as a bridge between the model and the view in your application. When there’s a change in the model, the view gets automatically updated – and the other way around. What does it mean? Well, it means that interaction between the user and your Angular app is as seamless as it gets.
Our Angular component integrates with ngModel through the ControlValueAccessor interface. This integration paves the way for you to turn on two-way data binding. But before you can do that, you need to define a model in your component. Let’s take a look at the following example:
@Component( {
    // ...x
} )

export class MyComponent {
    public model = {
        editorData: '<p>Hello, world!</p>'
    };

    // ...
}
Once you’ve set up your model, you’re ready to use the two-way data binding mechanism. Here’s how you can do it:
<ckeditor [(ngModel)]="model.editorData" [editor]="Editor"></ckeditor>Note that there might be situations when you want to disable the two-way data binding. For instance, if you’re dealing with extremely large documents, Angular’s two-way data binding mechanism might not be a good choice. In such cases, you can disable it using disableTwoWayDataBinding and setting its value to True.
# How to resize the enriched Angular input field
You can adjust the size of the CKEditor 5 component in your Angular app by changing its height through styling. It’s useful if you want to match the UI of CKEditor with that of your app and ensure a more seamless rich text editor integration.
# Changing the size using the component stylesheet
Start by creating a (S)CSS file within the directory of the parent component and apply styling to the specified editor’s component. Note that you should prefix the styling with the :host and ::ng-deep pseudo-selectors:
/* src/app/app.component.css */

:host ::ng-deep .ck-editor__editable_inline {
    min-height: 500px;
}
Next, you need to add the relative path to the stylesheet in the parent component:
/* src/app/app.component.ts */

@Component( {
    // ...
    styleUrls: [ './app.component.css' ]
} )
# Changing the size using the global stylesheet
Alternatively, you can resize the Angular input field by making changes in a global stylesheet.
To do it, you first need to create such a stylesheet:
/* src/styles.css */

.ck-editor__editable_inline {
    min-height: 500px;
}
By manipulating the min-height parameter, you can easily adjust the size of the editor.
Then, you have to add the global stylesheet to the angular.json file:
"architect": {
    "build": {
         "options": {
             "styles": [
                 { "input": "src/styles.css" }
            ]
        }
    }
}
# How to disable the Angular input field
In Angular apps, you may come across scenarios where you might want to disable the text input or the text editor. This could be needed for reasons such as controlling user access to certain features or maintaining data integrity in your application. The CKEditor 5 Angular component provides a simple and efficient way to disable the Angular input field using the disabled property (which is one of the @Input properties).
In the context of CKEditor 5, this property allows you to modify the read-only state of the editor. Basically, it lets you disable or enable the Angular textarea that has been enhanced with CKEditor 5. To make this feature more versatile, you can add controls that allow the user to toggle the editor on or off.
Here’s how you can do this:
First, define the disabled property in your component:
@Component( {
    // ...
} )

export class MyComponent {
    public isDisabled = false;

    // ...
    toggleDisabled() {
        this.isDisabled = !this.isDisabled
    }
}
Next, you need to add the code for the buttons that control the read-only state of the Angular input field:
<ckeditor [disabled]="isDisabled" ...></ckeditor>
<button (click)="toggleDisabled()">
  {{ isDisabled ? 'Enable editor' : 'Disable editor' }}
</button>
This way, you can maintain better control over the input fields in your Angular application, increasing its flexibility and usability.
# Next steps with enhancing Angular text input fields
If you’ve come this far, you’ve likely discovered how swiftly CKEditor 5 can be integrated into your Angular app. It’s a real game changer for enhancing Angular textarea. But did you know there’s so much more you can learn about using CKEditor 5 in Angular?
Just check out the Angular rich text editor component documentation. This handy guide is crammed with information about the component’s input and output properties as well as its styling. But that’s not all. You’ll also find out how to access the editor through the API and manage the CKEditor 5 translation files. So, go on – give it a read and boost your Angular text input field know-how.
A CKEditor Premium subscription adds even more functionality to your Angular app. Get access to GDocs-style collaboration features like Track Changes, Revision History, and Comments, plus productivity plugins including Templates, Slash Commands, and more. Start your 30-day free trial of CKEditor Premium today.